Power Automateフロー作成
ここではフローの基本を作成していきます。
動作は起動ボタンを押すと、自分自身に自動でメールを送るフローを作成します。
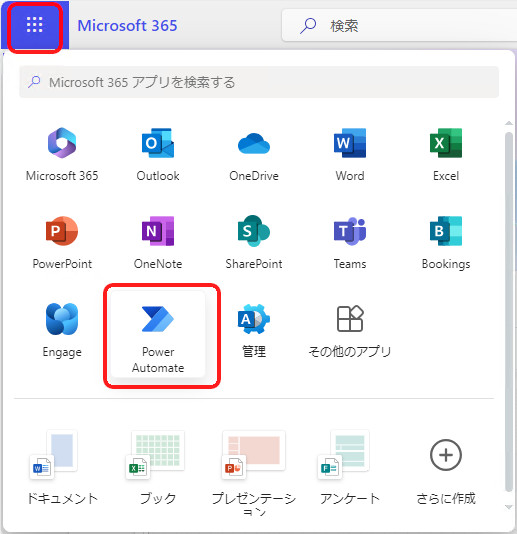
1.Power Automateを起動させる。
ブラウザでMicrosoft 365にサインインしてください。ホーム画面のアプリ起動ツールにPower Automateがあるのでクリックしてください。
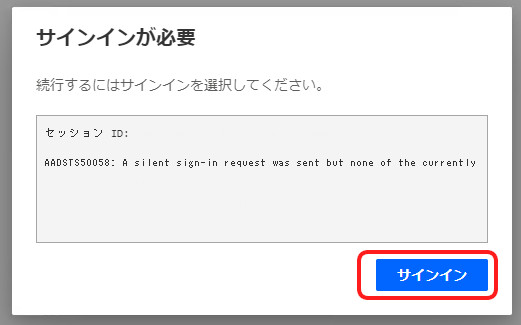
起動するとサインインを求められる場合があるのでその場合はサインインをしてください。
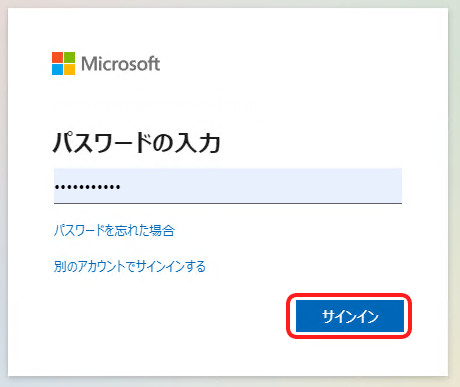
パスワードも求められます。パスワードを入力してサインインしてください。
サインインの状態を維持するために「はい」を選択してください。
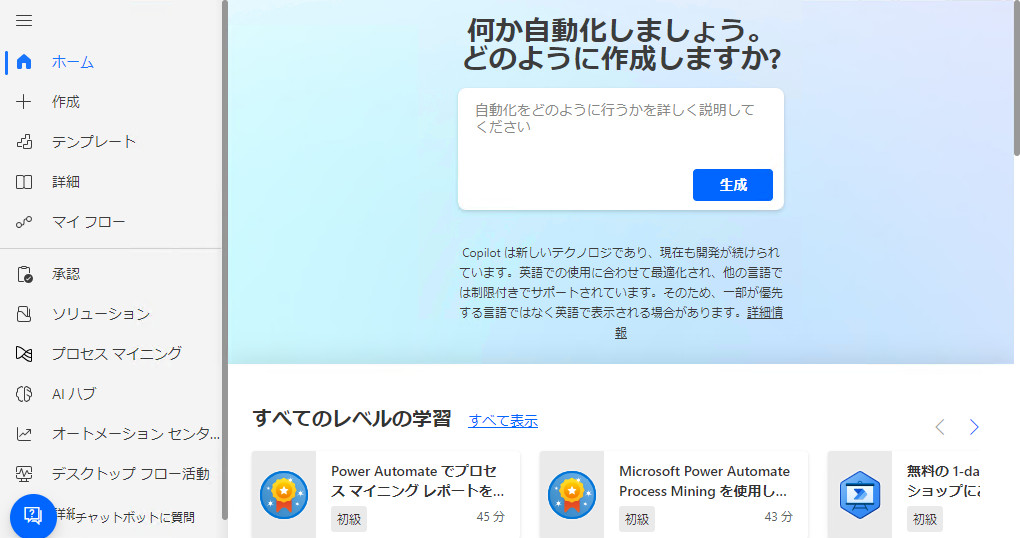
Power Automateのダッシュボード画面が表示されます。
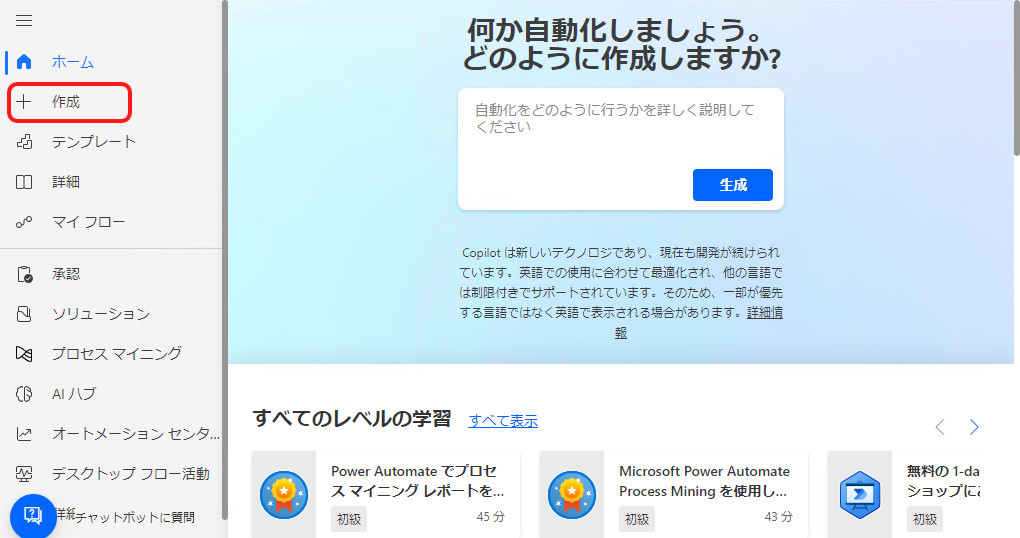
作成をクリックします。
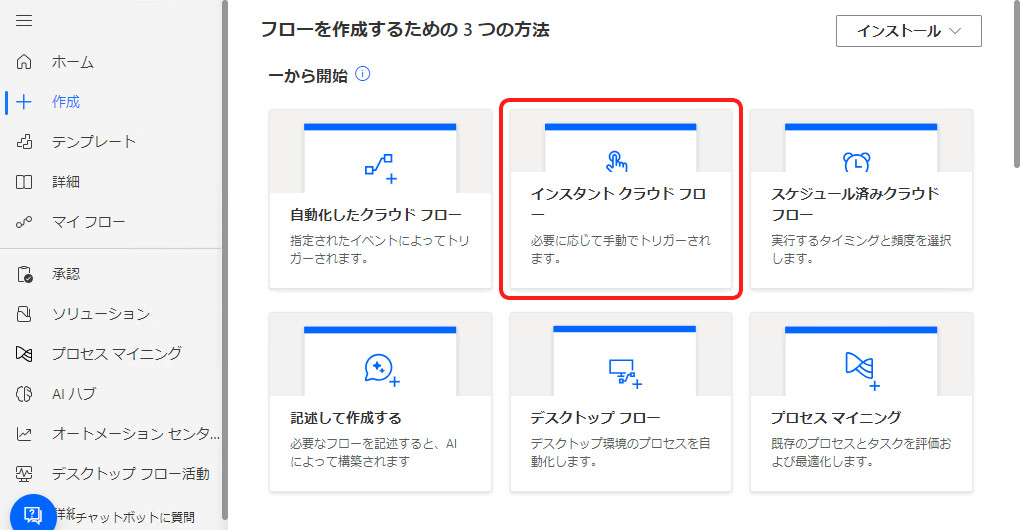
インスタントクラウドフローをクリックしてください。
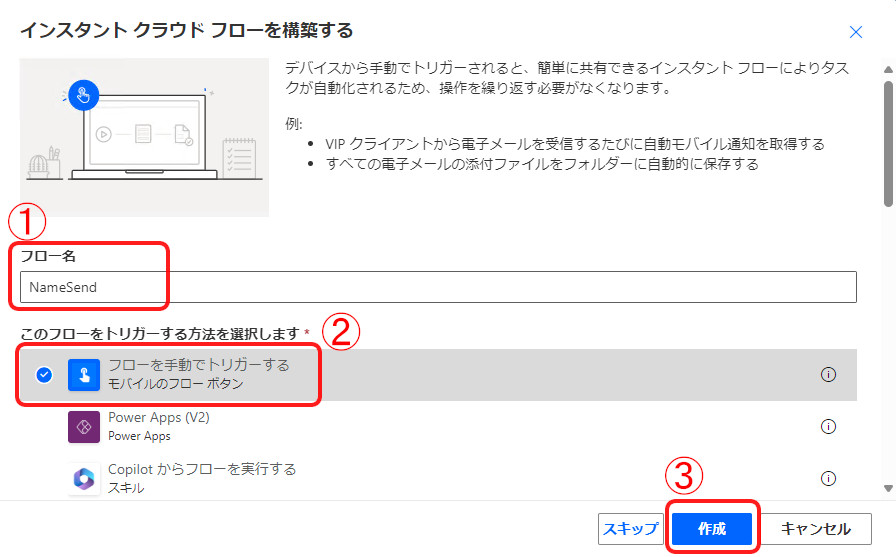
フロー作成のダイアログが表示されます。
フロー名とトリガー方法を選択する部分があり、ここではフロー名をNameSendと入力して「フローを手動でトリガーする」を選択します。
最後に「作成」ボタンをクリックします。
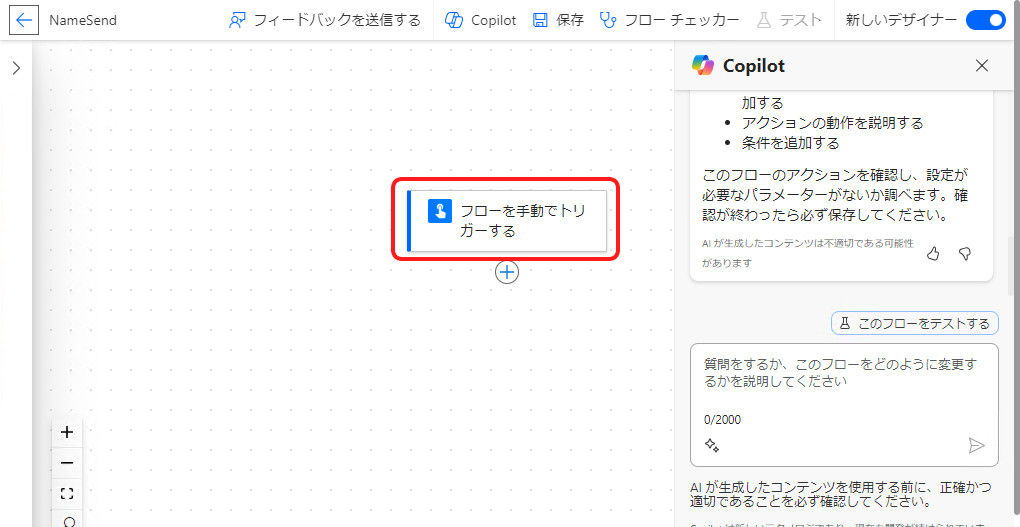
デザイナー画面が表示されます。ここでフローを作成していきます。
まずは「フローを手動でトリガーする」をクリックします。
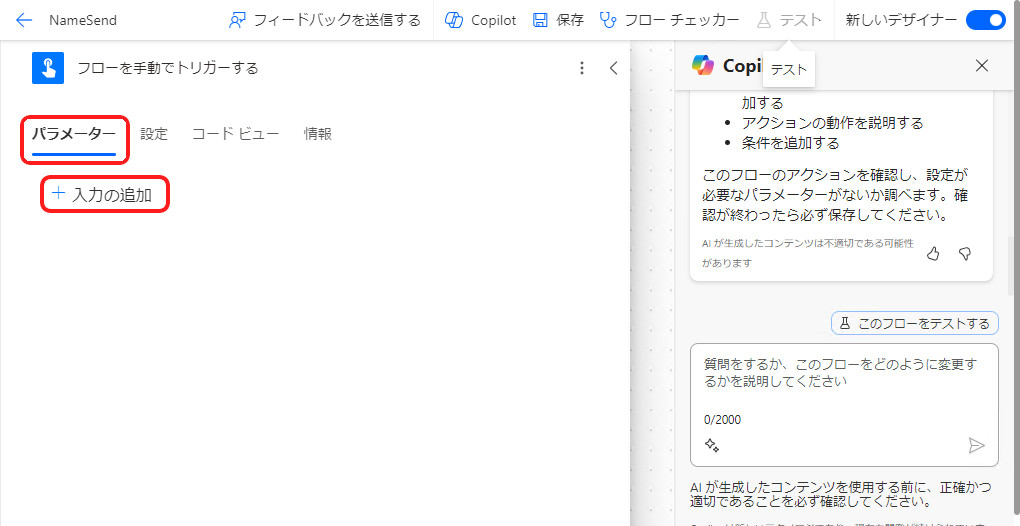
トリガーについての詳細項目が表示されます。
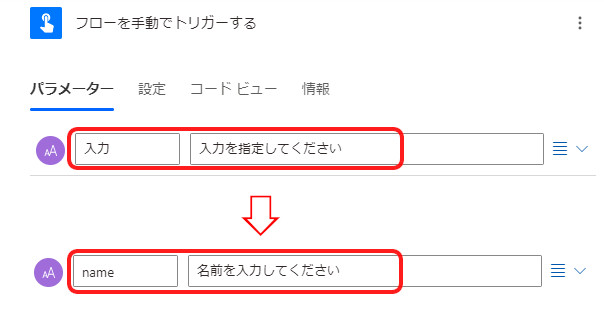
「パラメーター」タブの「入力の追加」をクリックします。
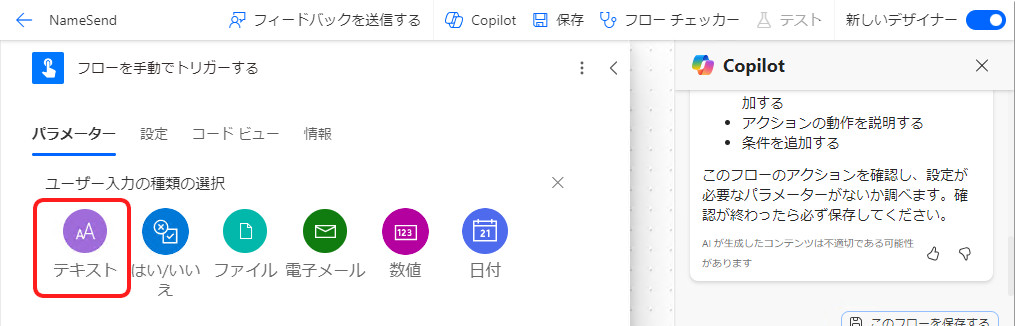
ユーザーの入力の種類が表示されますのでその中の「テキスト」をクリックします。
テキストボックスに「name」と「名前を入力してください」と入力してください。
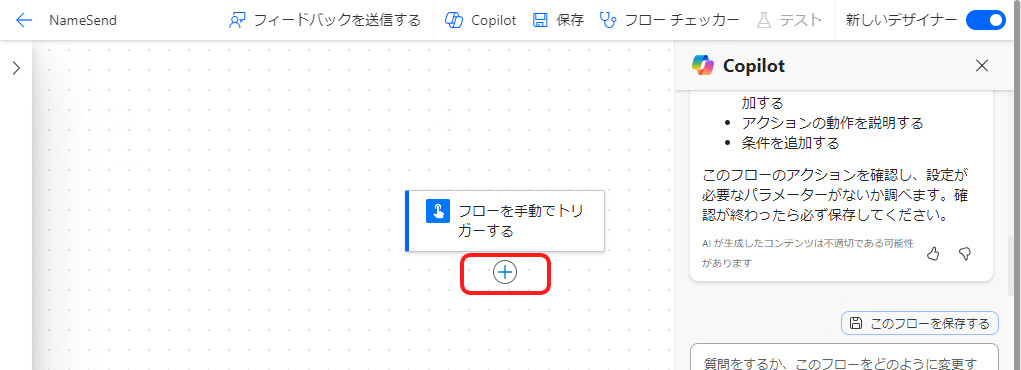
入力が終わったらデザイナー画面の「+」ボタンをクリックしてください。
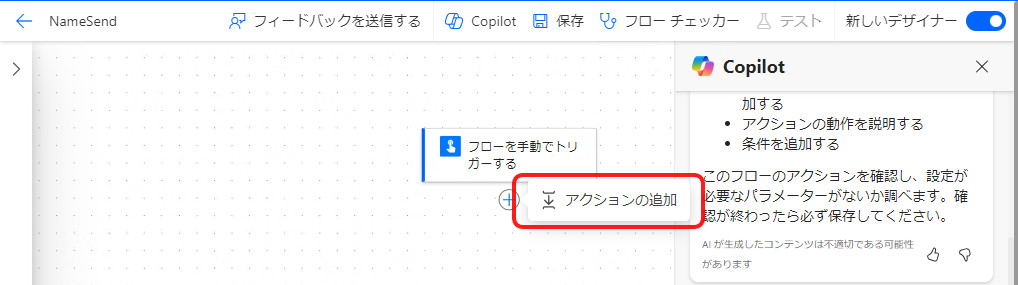
「アクションの追加」が表示されますのでクリックします。
トリガー入力後の動作になります。
アクションの追加のウィンドウが開きます。
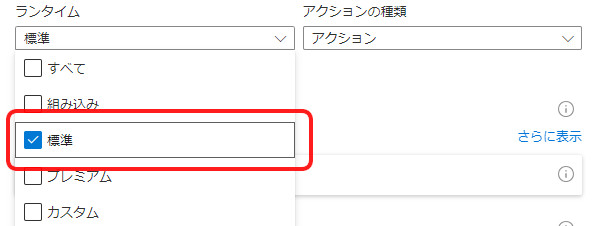
検索欄に通知と入力してください。しばらくすると画面下にメール通知を受け取る画面が表示されます。それをクリックします。
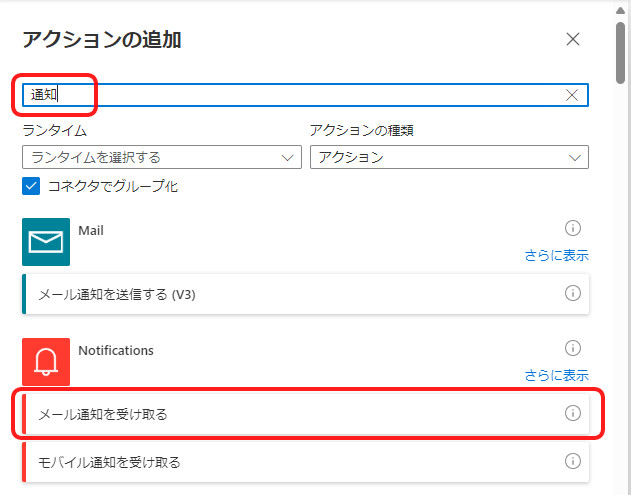
もし表示が無ければランタイムのリストから標準にチェックを入れクリックします。これで「メール通知を受け取る」が表示されます。(なかなか表示されないのはサーバー接続の為)
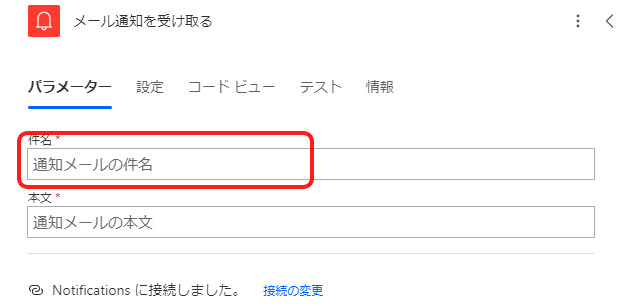
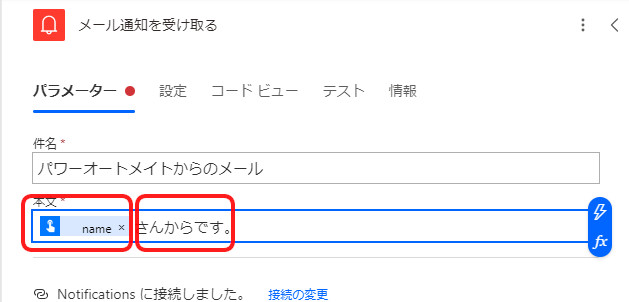
「メール通知を受け取る」をクリックすると以下のような画面になります。件名に「パワーオートメイトからのメール」と入力してください。
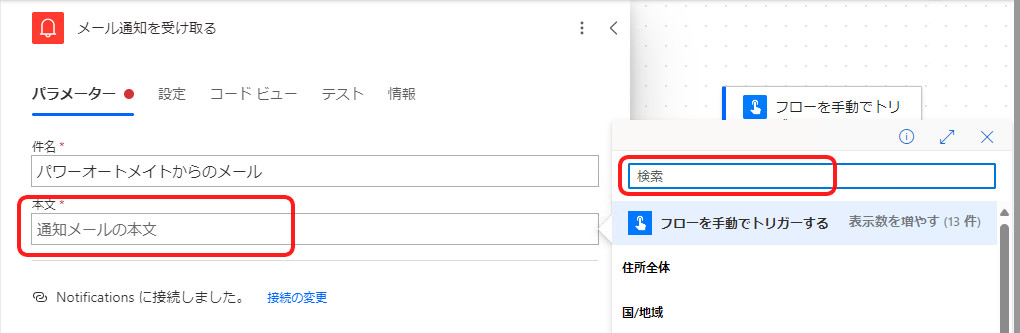
次に本文のテキストボックスをクリックすると検索ダイヤログが表示されます。この検索欄に「name」と入力してください。
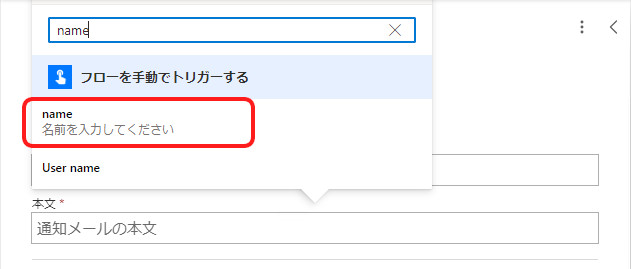
「フローを手動でトリガーする」の下にnameが表示されます。
これは「フローを手動でトリガーする」で設定した「name」になります。
これをクリックします。
本文の最初にトリガー設定した「name」のあとに「さんからです。」と入力してください。
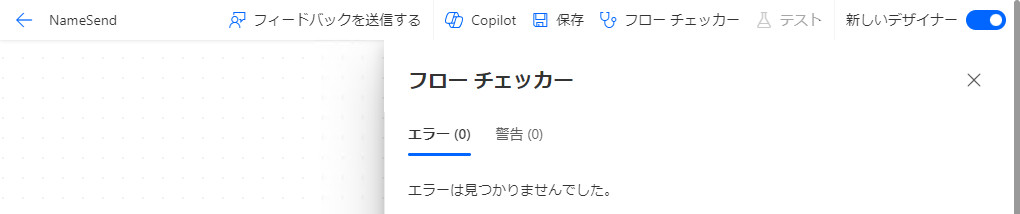
入力が終わったらデザイナー画面の「フローチェッカー」をクリックします。

フローチェッカーは一連のフローで問題ないかデバッグしてくれます。ここでエラーがあればそのエラー内容から修正をしていきます。
今回はエラーがないので「×」で閉じます。
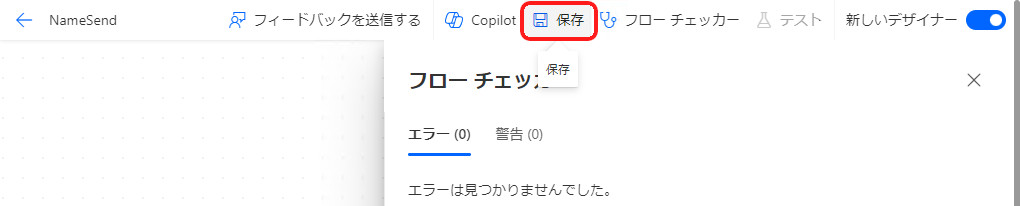
次に「保存」をクリックします。
「テスト」をクリックします。
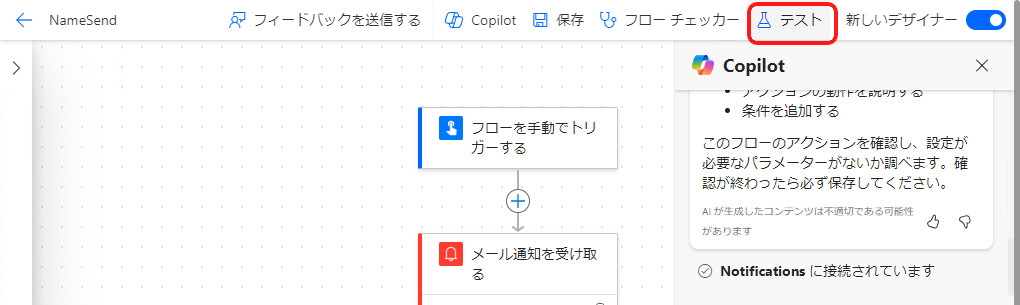
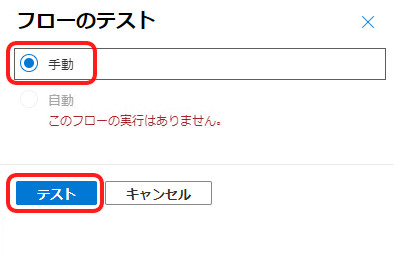
フローのテストウィンドウが開きます。
手動のラジオボタンにチェックして「テスト」を実行します。
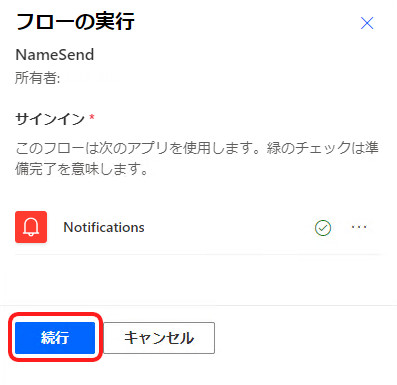
次に「サインイン」の確認がありますが標準完了になりますので画面下の「継続」ボタンをクリックします。
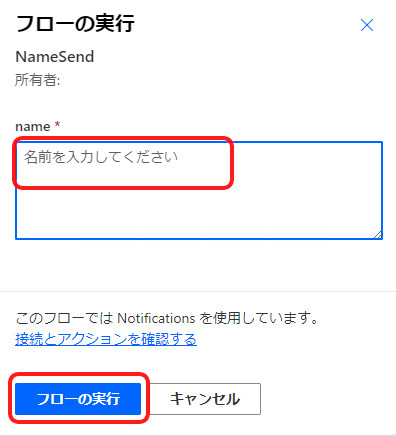
トリガーの「フローを手動でトリガーする」が実行されて「name」入力テキストボックスが開きます。ここに好きな文字を入力してください。
入力が終わったら「フローの実行」をクリックします。
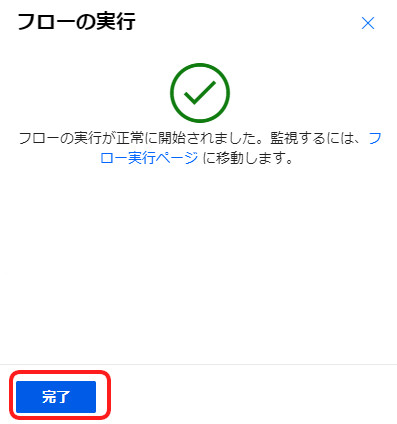
フローの実行が行われ「完了」ボタンをクリックします。
outlookを開きメールが届いているか確認します。

以上でフロー作成から実行まで出来ました。
フローのトリガーを自動実行型にしたり追加アクションで複数にメールを送ったりすることもできます。